Thursday, May 26, 2011

Making Progress - Bathroom Redo Part 3

Well I was just reminded last night that I have a blog ;) It's gotten so busy around here and I kind of lost my reno mojo. Last I left off we were finishing up the beadboard and starting on the trim. After a million a lot of trips to Home Depot/Lowes finally finished all that...FINALLY. Cuts weren't perfect as you can see below but that doesn't really matter when you can just cover it all up :)


Next step was picking out flooring!! I wanted a wood or laminate just Justin quickly talked me into tile since this bathroom belongs to 2 boys who love to dump bath water on the floor...

We went to Floor and Decor and if you've never been there, it's a great place with tons of selections in every price range. It was there we found the coolest tile ever (in my opinion of course!) Tile...that was layed in planks like wood. I don't know anyone whose done it and it could have turned into a distaster but I think it turned out pretty well! We had to put down sub flooring first...


Not so much fun...

And it was really really hot in there so we had to go get one of these!


It felt like a ice box in there after that :)

Laying tile took some getting used to...ok it SUCKED...but once I figured it out it wasn't so bad...


My back begs to differ though.
(Leave it up to my husband to take pictures...this was the only picture that didn't include a full butt close up)

We used the tiniest spacers they had to get the minimum amount of grout line.

And then Justin grouted...


After the tile got all cleaned up we measured and cut the new base boards.

Here's the baseboards down, iphone pictures so pretty grainy.

Puttin' in a new toilet...


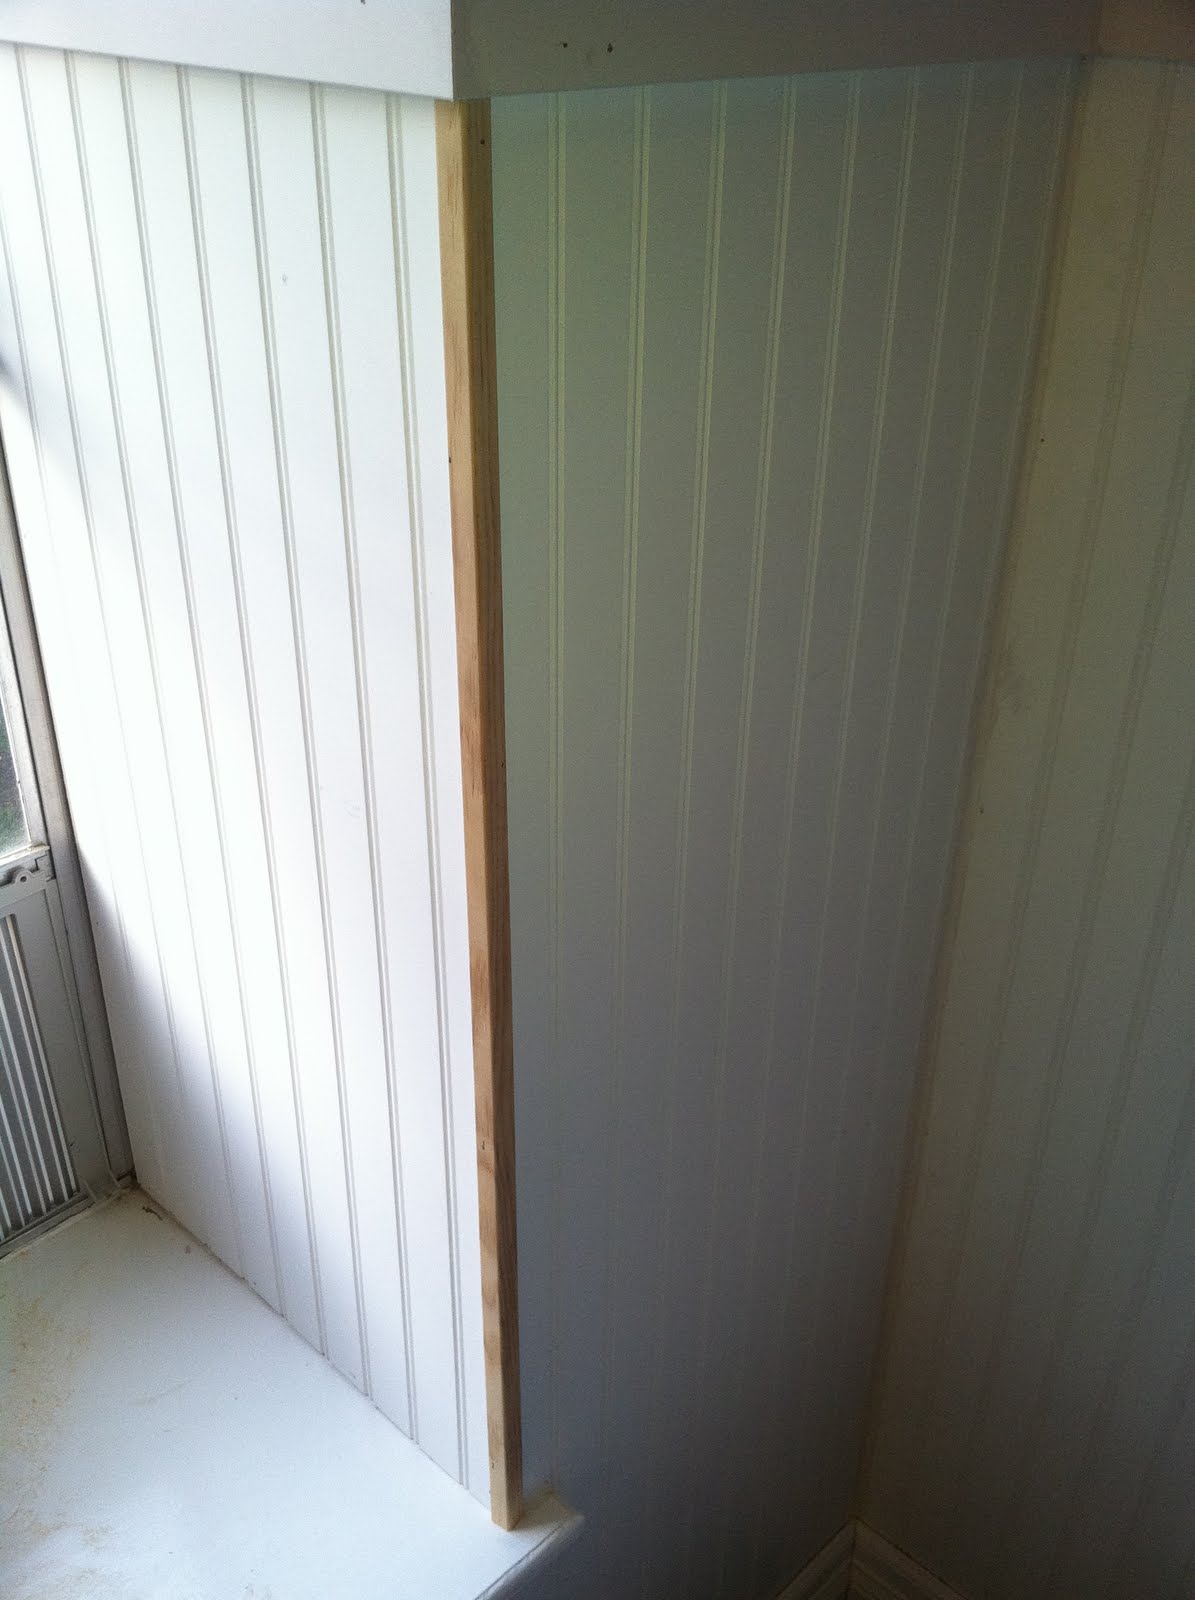
And this is how we covered up our mistakes around the edges of the beadboard.


Now all it needs is a little paint over the beadboard and trim and touchups around the red paint. And then the decorating :)

I can't wait to post a before and after of it all (started decorating already) but this is what I'm going for...

Vintage Surf


Friday, April 8, 2011

20 Minute Burlap Pillows

So I am in LOVE with all the burlap I've been seeing! I wanted to try and make some pillows but went the "no sew" route with my handy dandy notebook glue gun (Blues Clues anyone?). I had bought 2 yards of burlap at Hobby Lobby for maybe $3.50 a while back, knowing I'd be using it for something eventually! I only needed maybe half a yard to make these 2 pillows and it only took 20 minutes :)


The prints are from the computer and I used transfer paper to get them on there. I bough the bird with a crown for $2.50 on Etsy and the other one I just found for free.

They were super easy but next time I might try to make them bigger (I just need a bigger picture!) and maybe a pillow insert rather than polyfill...

But overall I think they are pretty cute ;)


Tuesday, April 5, 2011

Bathroom Redo Phase 2

Back to work! The texture was dry and the painting was next. I heard that Frog Tape was better than blue tape but after it was all said and done I really did not see any difference. I will try the frog tape again on another project to be sure though.

 I LOVE RED. I am trying to phase out of it through out my house just because I need some change every so often but this is the one small room that is going to scream RED :) It's a deeper red and since it's a boys bathroom I think it will be perfect...right?

SO...on to the beadboard. I wanted it to stop around eye level since I am going to add a plate rail for pictures (or things) to sit on so sweet hubby did the cutting and I gave him the measurements...cause I was
project manager :) We He took the baseboards off (They were REALLY hard to get off!) and got down to business.


Look at Justin's woodworking skills :)...really Caulk will be our best friend when this is all said and done but you have to admit it's pretty good for a first timer!


Our boys are like bulls in a china shop so until we get the door stops put back on...we have to wrap all the doorknobs so that they don't crush the paneling. A bit ghetto.


Here is one wall with the paneling up and half of the plate rail! I am SO happy with how it is all coming along!! It's looks like a hurricane came through though and TONS of trial and error pieces all over....


And the hubs trimmed out the mirror!! I swear this one step alone makes SUCH a huge difference in a bathroom. It takes it from builder to custom in less than an hour...or so...right Justin??

Check out the cute butt ;)

 I was shlumpadinka'n and did not wanna be in that picture lol..

Well we are about half way done and hoping to have phase 3 (and hopefully last) up in a week or 2 (we're only really able to work on it for a few hours on the weekends since those darn children need so much attention!!...just a kiddin' )...and that's probably pushing it...but it will be DONE by the end of April!

Beadboarding the Upstairs Bathroom

What did we get ourselves into?? What I thought would be a weekend project has turned into a month long one. Not that I am complaining really...I am so happy with how it's coming along!

First the idea was simple...take down the wall paper in that hideous bathroom.


This took about a week since I could only work on it a few hours each day....I knew I was going to hang beadboard so I left the wallpaper on the bottom half.

Then I found a guy to come in and spray texture for me and he did great! Much better than the guy that did our downstairs texture (Craiglist is a hit or miss).


I asked for knockdown rather than orange peel :)


Next on the list...

Paint the walls....Take off baseboards...Add beadboard...Trim out the mirror...Add a plate rail...Caulk and Paint everything...Rip out old flooring...Put in new flooring...Add new baseboards...Add corner pieces....and the list goes ON!! Listing out all these steps really makes me hope I like the finished product!!

I will update later tonight with more progress!

Saturday, March 12, 2011

Hello and Goodbye...

Well today I hadn't planned on writing but I woke up today with Dish Network crashing overnight and it erased ALL my recorded shows. WHY?!? It mostly just stinks that all the boys shows are gone and I'll have to start all over getting new ones. They have plenty of dvd's but just picking one off the recorded list is SOO much easier than fooling with the Playstation.

C'est la vie...

So last week I found a great deal on a microwave and range off of craigslist. I am changing everything out one at a time from whatever was there to stainless. The micro wasn't bad, just black and looked funny against the dark brown cabinets. The range however, is 20 years old and I think it was once white but is now a shade of yellow...annnnd it leaks gas :( No Beuno.

So anyway about this GREAT find. We pick it up and bring it home, (Helloo Gorgeous!) take out the old, put in the new micro...PERFECT! Put in the range...ummmm. It has a huge plug. The outlet on the wall is normal. Not huge...


It was advertised as a Dual Fuel with a gas stove and convection oven. We stupidly thought that it's either all gas or all electric. Dual Fuel...DUH...it all makes sense now. We only have gas hookups for the stove and oven. So we got an electrician to come out and see what it would take to get a 220 something put in so it would work.

It would take a $1000. We payed $575 for the microwave and range. No thanks.

Back on CL it went :( Last night it was picked up and now we have a gaping hole where there should be an oven...and we're living on microwave dinners and eating out. And looking for a new range pronto!!

Well, I say this was a good lesson learned. Check your connections and do a little research before diving in.

Once again...
C'est la vie...

Monday, March 7, 2011

Scrapbook Paper Wreath

Hope everyone had a good weekend!! We went and checked out Harwin (my first time!) and although the kids hated it...I thought it was fun! They did have an overwhelming amount of jewelry to where I couldn't even look through it, my head started spinning and I had to walk right out of every store. Speaking of too much of one thing...I feel like I am going to be buried alive with scrapbook paper if I don't do something with it all soon :O. AND I don't even scrapbook....

I googled some ideas on what to do with it and found a cute wreath idea. I LOVE it and know I want to make a ton more....but then I would just be buried alive under scrapbook wreaths :/ Anyway here's how it turned out...


It was really easy...just a foam circle, about 6 sheets of scrapbook paper, hot glue gun, and ribbon to hang. Cut the paper in 2 by 4inch strips, fold them (without creasing) and glue ends together and then glue each one to the foam.


EASY and QUICK!!

Thursday, March 3, 2011

Touching up the baseboards

Wow, I am on a roll! Last week I was trying to clean the basebaords and realized that most of what was bothering me wasn't dirt but chipped paint and dropped paint from when I did the walls. I had some cabinet paint in the garage so I just touched them up with a sponge brush. Makes the floors seem cleaner ;)

These are them before...ugh!


I kind of forgot to take an after but this will do...

This cat is not even mine...she came in through my cat's cat door... weird...but she liked pictures.